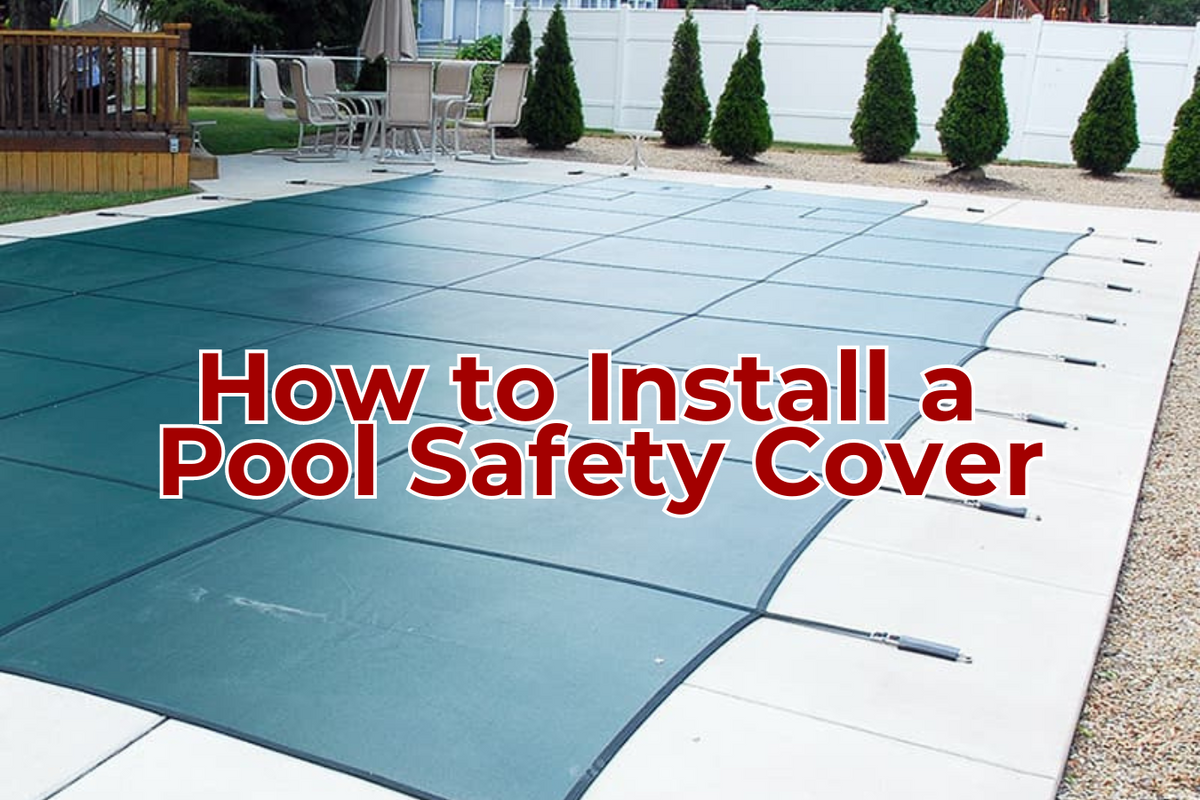
How to Install a Pool Safety Cover
|
|
Time to read 2 min
|
|
Time to read 2 min
Swimming pools are a great addition to any home and provide hours of entertainment and relaxation for family and friends. However, it's important to prioritize safety when it comes to pool ownership. One way to do this is by installing a safety pool cover. A safety cover not only protects against accidental falls and drownings, but also keeps debris out of the water and helps retain heat during cooler months. But how exactly do you install a safety pool cover? In this article, we'll cover everything you need to know to install your own safety cover on a pool. From measuring your pool to selecting the right cover, we'll walk you through the steps to ensure a successful installation. Let's dive in!
A pool safety cover is a crucial investment for any pool owner. It provides a physical barrier between the pool and the surrounding area, preventing children and pets from accidentally falling in. According to the Centers for Disease Control and Prevention (CDC) , drowning is the leading cause of unintentional deaths in children ages 1-4, and the second leading cause of unintentional deaths in children ages 5-14. By installing a pool safety cover, you can significantly reduce this risk.
In addition to safety, a safety cover also helps keep your pool clean. It prevents leaves, debris, and other outdoor elements from entering the water, which can save you time and money in maintenance costs. Additionally, a safety cover can help you protect your pool during the cold off-season months after you've winterized the pool.
Below we highlight the three main types of pool safety covers, and discuss each one's pros and cons. For more information about each cover, read our comprehensive Safety Cover Buyer's Guide article.
Mesh safety covers are made of a durable, breathable mesh material that allows rainwater to pass through into your pool, while keeping debris out. They are typically less expensive than solid covers, and are easier to install and remove. However, the mesh material does not provide as much protection against sunlight or evaporation, and may require more maintenance.
Made of a solid material, solid safety covers completely block out sunlight and prevent water evaporation. They are generally more expensive than mesh covers, and can be more difficult to install and remove due to their weight. However, they provide better protection against debris and sunlight, which keeps your pool cleaner and helps chemicals last longer.
As the name suggests, automatic covers are motorized covers that can be opened and closed with the push of a button. They provide the most convenience and ease of use, and can be customized to fit any pool shape or size. But their convenience comes with a higher price tag and an increase in routine maintenance.
Before installing your new safety cover, remove any obstructions in your pool, like ladders, diving boards, or floating chlorinators. Once all items are out of the way, gather the following tools and supplies so you can start installing the cover:
3/4'' Concrete drill bit
7/8'' Drill bit for interlocking brick
Heavy-duty hammer drill
Metal tape measure
Piece of chalk
Hammer
1/4'' Allen Key
Safety goggles
Always read the manufacturer's instructions carefully to ensure that you have all the necessary tools and equipment.
Now that you have all the tools and equipment needed for installation, it's time to get started installing your safety cover! Follow the steps below, or watch this video to learn how to install your new safety pool cover:


